
How to enable and disable automatic non-disclosure agreement (NDA) signatures
Last updated: January 5th, 2024
When buyers request startup access, they must sign a mutual non-disclosure agreement (NDA) with you to protect the information you share.
You can sign this NDA when approving buyers manually. But we recommend setting up auto-sign to save time. You can choose to auto-approve access requests too.
Some sellers choose to manually approve access for more control over their buyer pool. But if you want to give every interested buyer a deeper look at your business, the mutual NDA protects both of you – and you might you sell faster as a result.
Follow the steps below to learn how to enable and disable auto-signing NDAs.
How to enable and disable the auto-sign mutual NDA feature
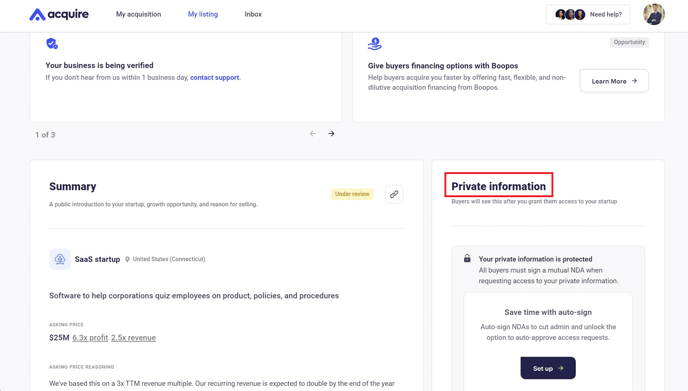
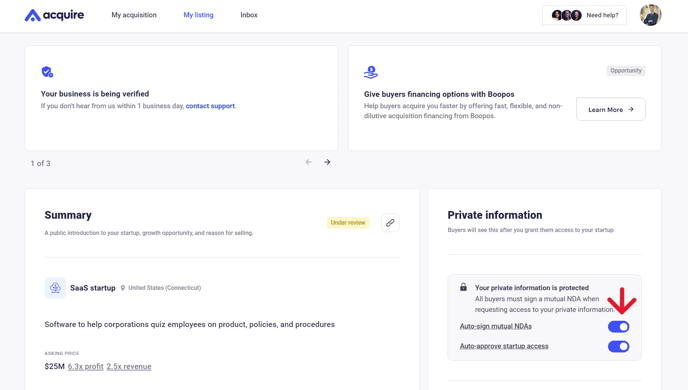
1. Under My Listing, locate the Private information box on the right.
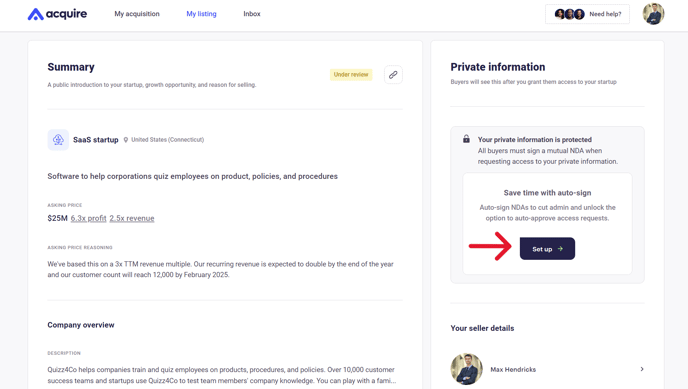
2. Scroll down and click Set up.
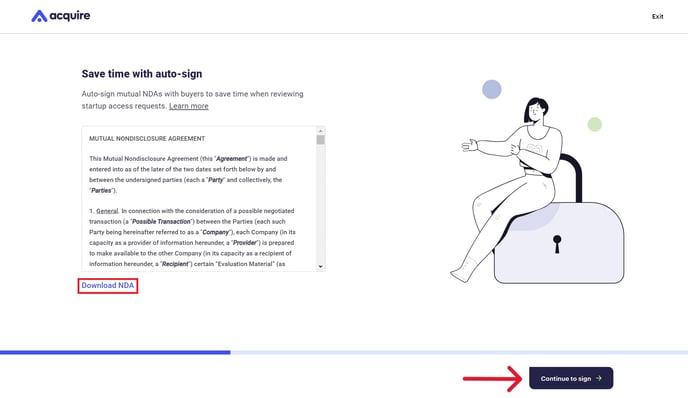
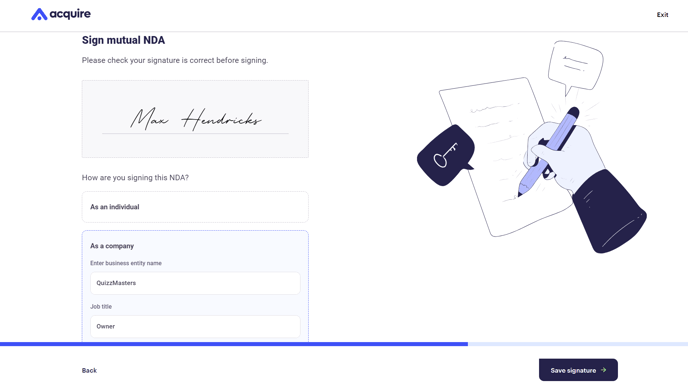
3. When the auto-sign page pops up, read through the document and Download it for your records. Then click Continue to sign.
4. Type your signature in the box. If you're signing on your own behalf, click As an individual and type your first and last names into the boxes.
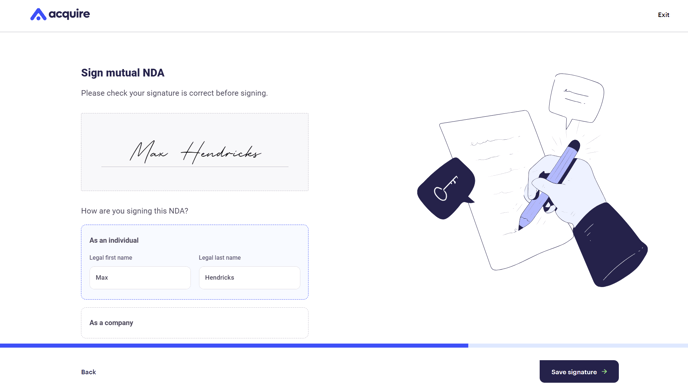
5. If you're signing on behalf of a company, click As a company and enter the business entity name and your job title.
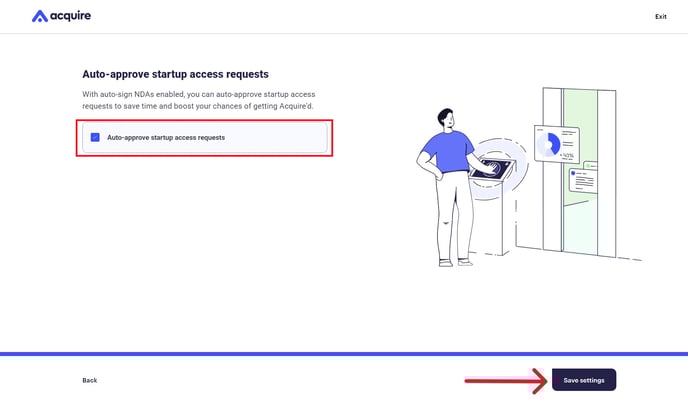
6. You also have the option to auto-approve startup access requests. Select or ignore the check box and then click Save settings.
7. Your auto-sign mutual NDA setting is now enabled. To disable it, slide the Auto-sign mutual NDAs toggle to the left.
Still need help?
Please search the help desk again or contact support at support@acquire.com.