A guide to crafting the perfect listing on Acquire.com
Last updated: January 10th, 2024
You'll find everything you need to create the perfect listing below. But for expert guidance on how to make your listing pop, ask a customer success manager to review and score your listing. Contact us at support@acquire.com to learn more.
Creating the perfect listing is the first step in getting your startup acquired.
In our experience, a “perfect” listing (one that gets the most buyer interest) is complete, accurate, and verifiable.
To start, head to our seller sign-up page and click Join now. Below, we’ll guide you through the process of building a listing so you can sell your startup quickly and easily.
How to create a seller account and list your startup
1. After verifying your email, click I want to sell my startup.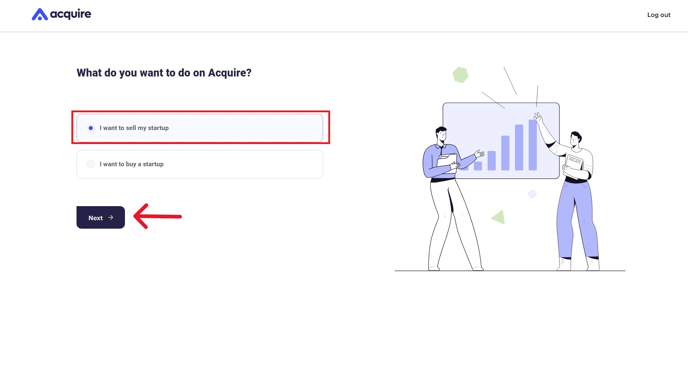
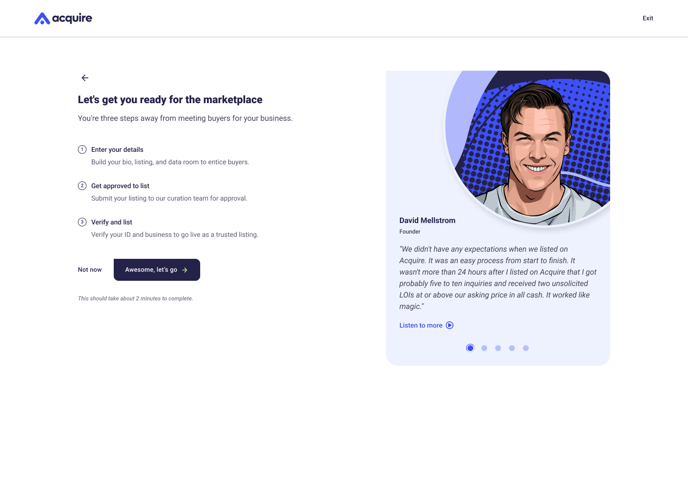
2. Click Awesome, let’s go to begin the guided listing process.
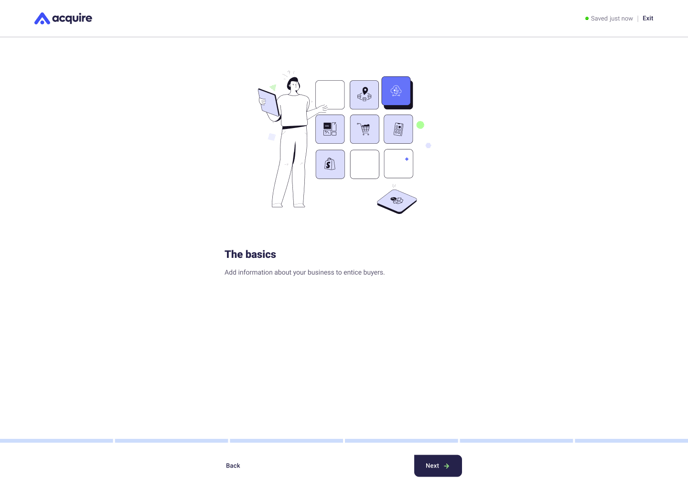
3. We'll start with the basics of your startup. Click Next to continue.
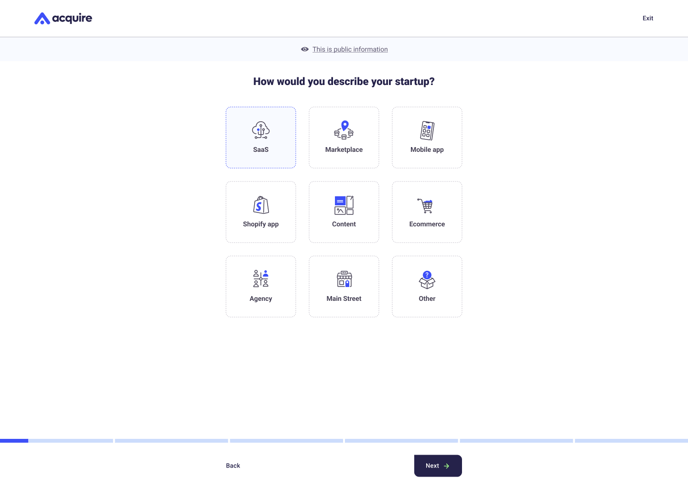
4. Select your startup type and click Next.
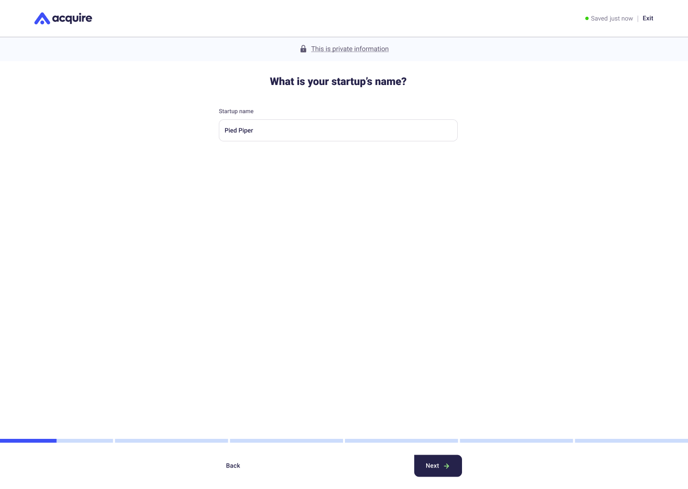
4. Enter your startup's name and click Next.
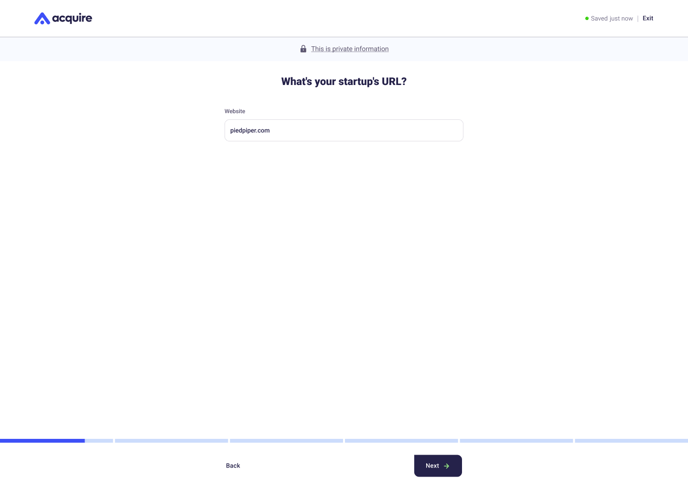
5. Enter a valid website for your startup and click Next.
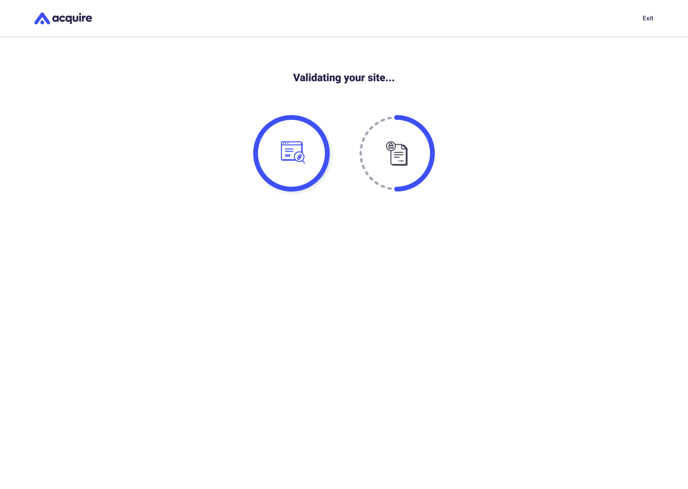
6. Wait while we validate your website and check for your SSL certificate. If you pass both checks, you’ll go to the next screen. Try again or contact our support team if you don't pass.
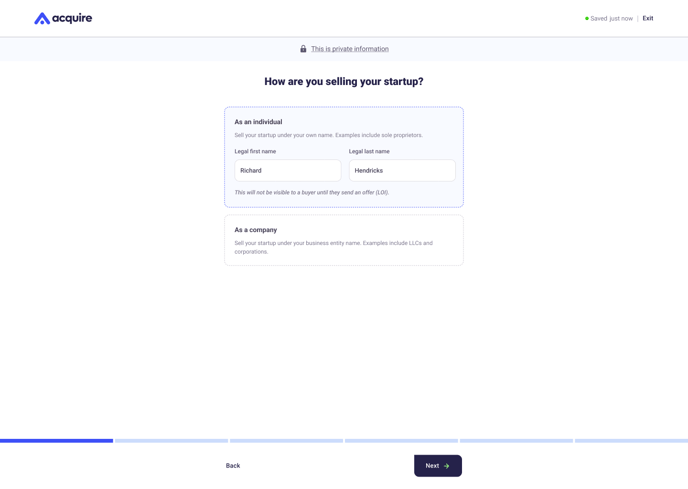
7. Click As an individual or As a company to tell us how you're selling your startup.
.png?width=688&height=489&name=Startup%20type%20(1).png)
8. Click the box and enter the appropriate information for selling as an individual or company.
.png?width=688&height=489&name=Startup%20type%20(2).png)
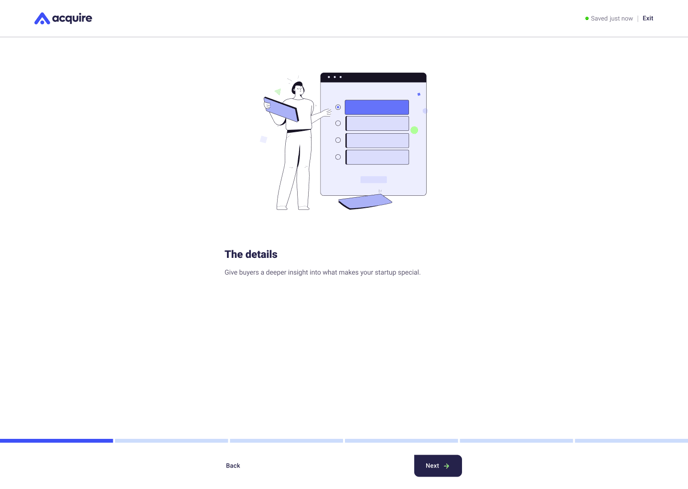
9. Now, tell us the details of your startup. Click Next to continue.
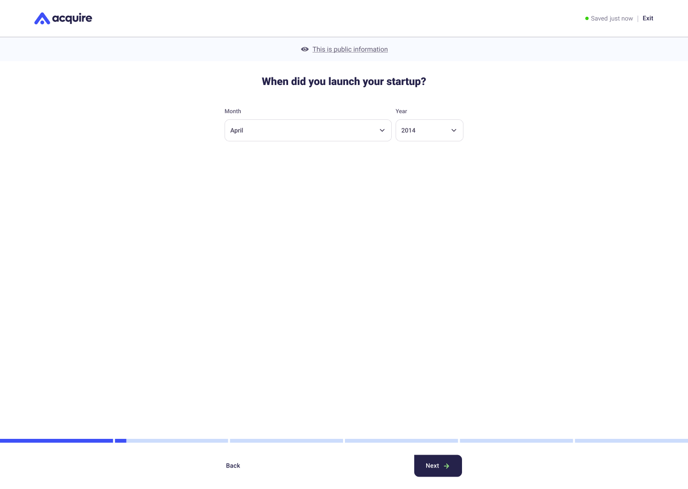
10. Enter when you founded your startup and click Next.
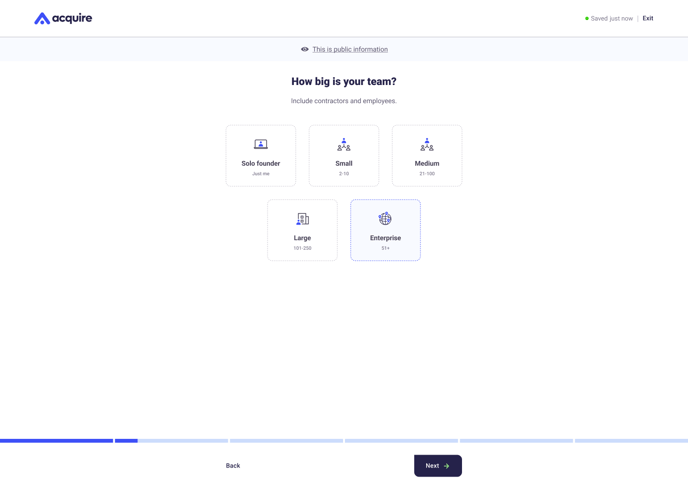
11. Select your team size and click Next.
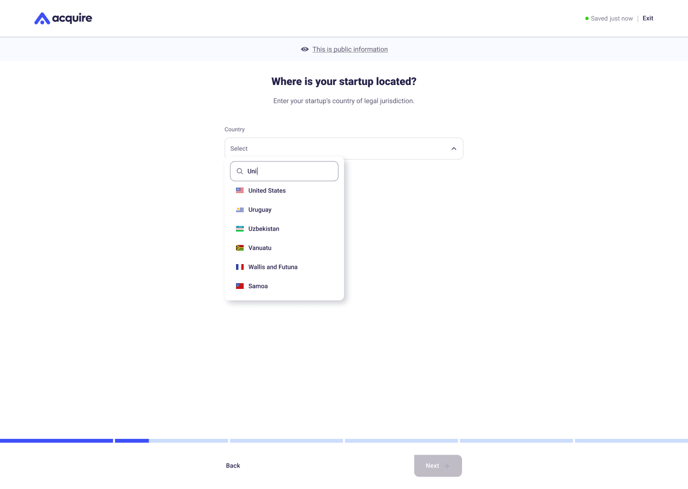
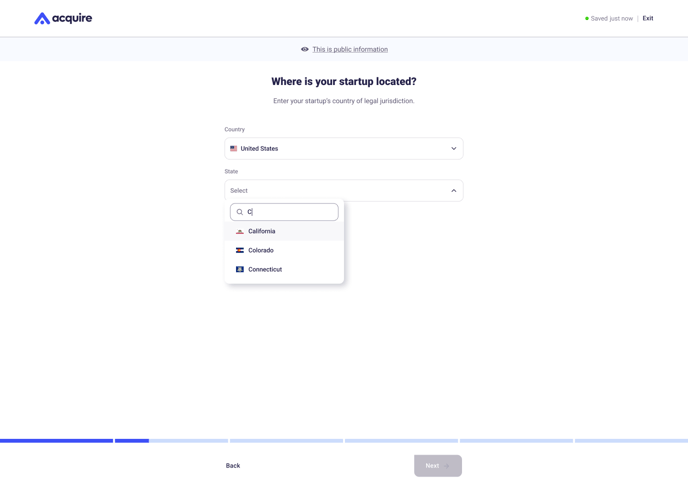
12. Enter where your startup is located. If it's in the United States, also select the state and click Next.
13. Select your business model. You can choose from our suggested options or type your model in the box and press the enter key.
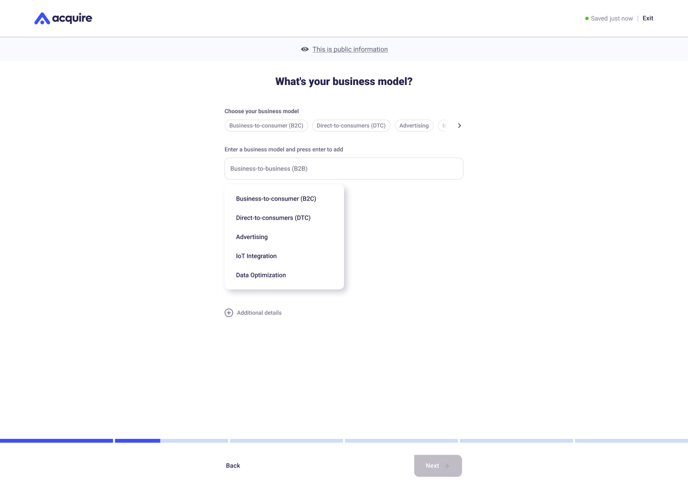
14. Click Additional details to add more information about your business model and how it operates. Click Next when finished.
.png?width=688&height=489&name=Business%20model%20options%20(1).png)
15. Select your tech stack. You can choose from our suggested options or type your tech in the box and press the enter key.
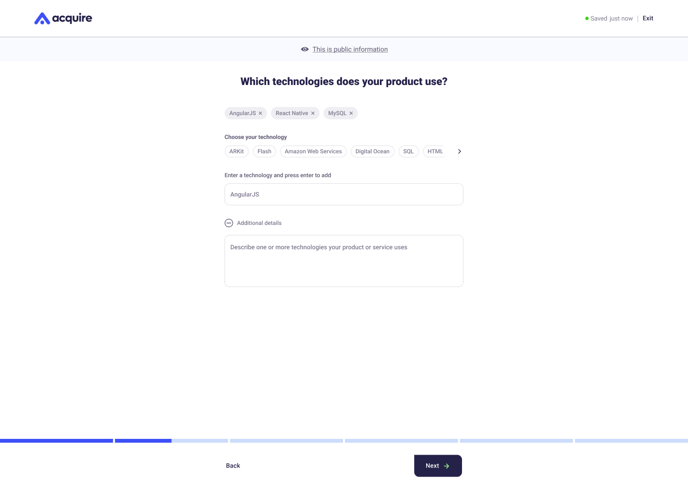
16. Click Additional details to add more information about your tech stack and how it operates. Click Next when finished.
.png?width=688&height=489&name=Tech%20stack%20(1).png)
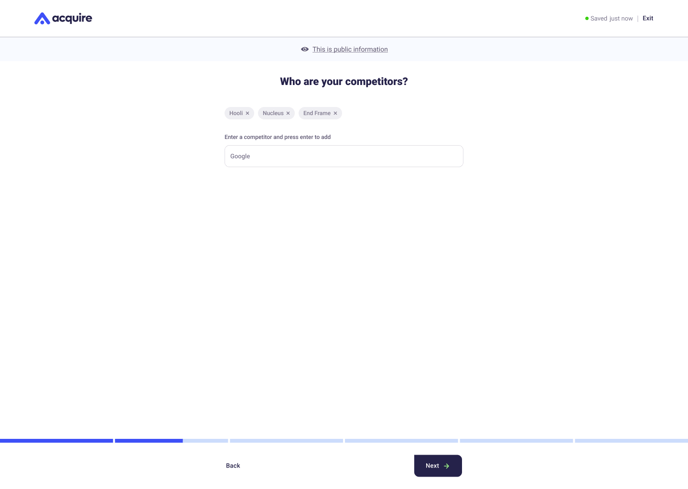
17. Enter your competitors in the box and press the enter key. Remove competitors by pressing the "x" icon next to the name. Click Next when finished.
18. Select your startup's growth opportunities. Choose multiple options and provide more information in the Additional details box below. Click Next when finished.
.png?width=688&height=489&name=Growth%20opportunities%20(1).png)
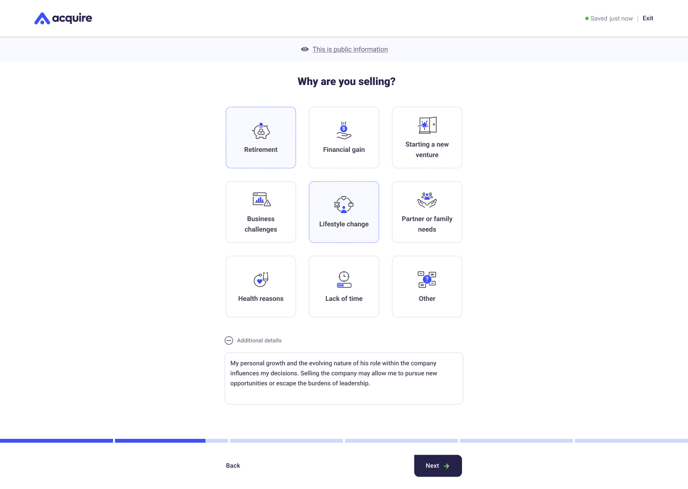
19. Select your reason for selling. Choose multiple options and provide more information in the Additional details box below. Click Next when finished.
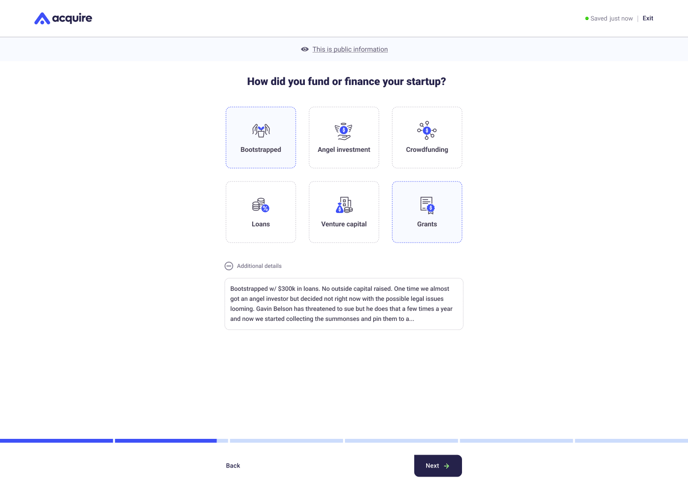
20. Select how you financed or funded your startup. Choose multiple options and provide more information in the Additional details box below. Click Next when finished.
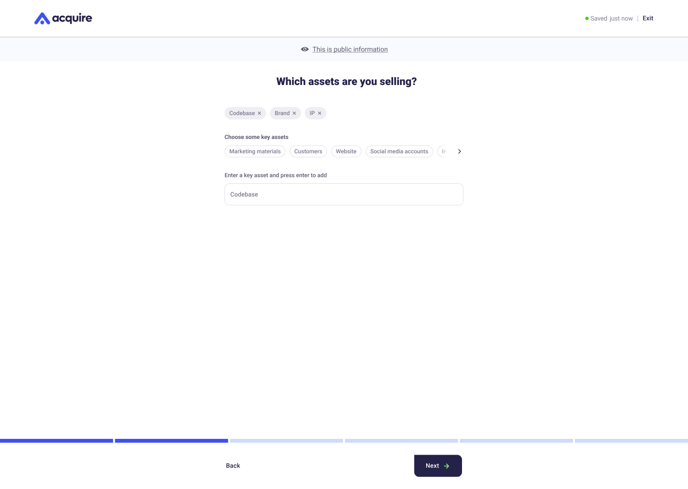
21. Select the assets you're selling. You can choose from our suggested options or type your assets in the box and press the enter key. Click Next when finished.
22. Now, we'll cover your startup's metrics. Click Next to continue.
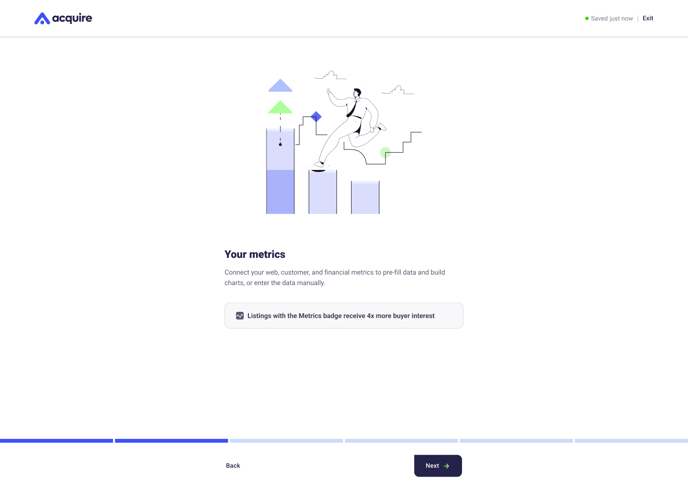
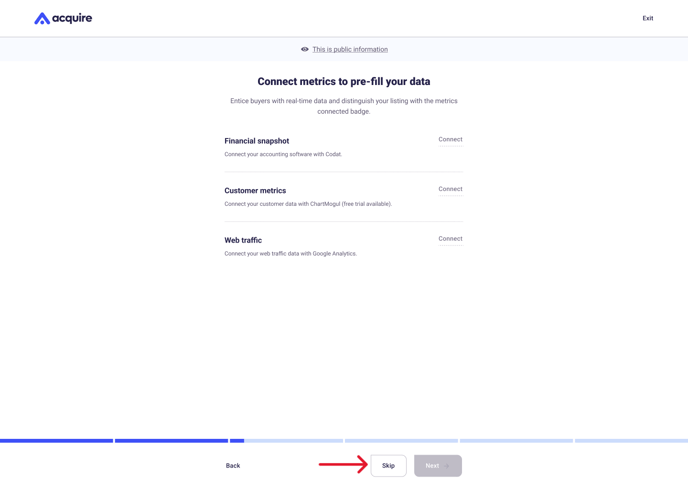
23. Click Connect next to each section. Follow the instructions for connecting your financial metrics, customer metrics, and web traffic. You can also Skip connecting your metrics and enter the data manually (see more below).
We highly recommend connecting your metrics to build trust with buyers and make your listing stand out on the marketplace.
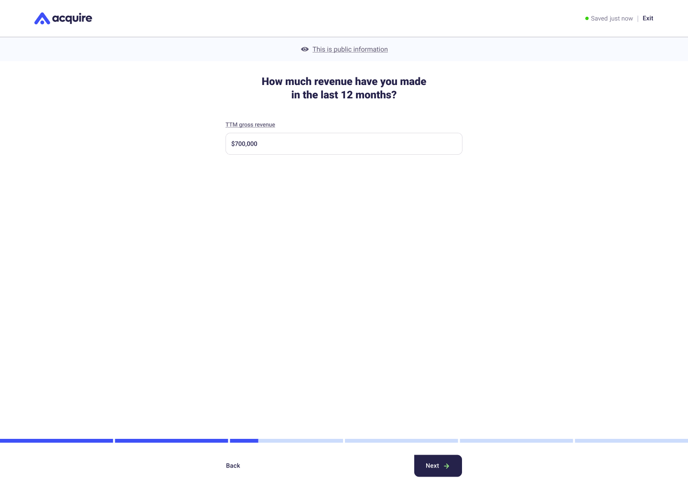
24. Enter your startup’s trailing twelve-month (TTM) gross revenue and click Next.
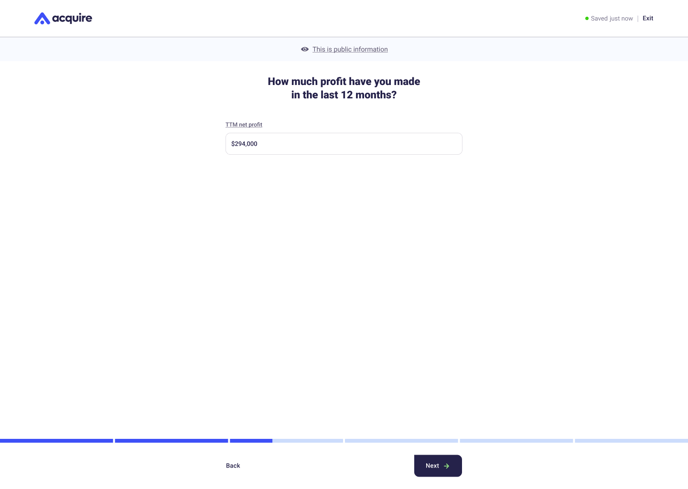
25. Enter your startup’s TTM net profit and click Next.
26. Enter how much gross revenue you earned last month and click Next.
.png?width=688&height=489&name=Rev%20(show%20if%20no%20data%20or%20not%20connected).png)
27. Enter how much net profit you earned last month and click Next.
.png?width=688&height=489&name=Profit%20(show%20if%20no%20data%20or%20not%20connected).png)
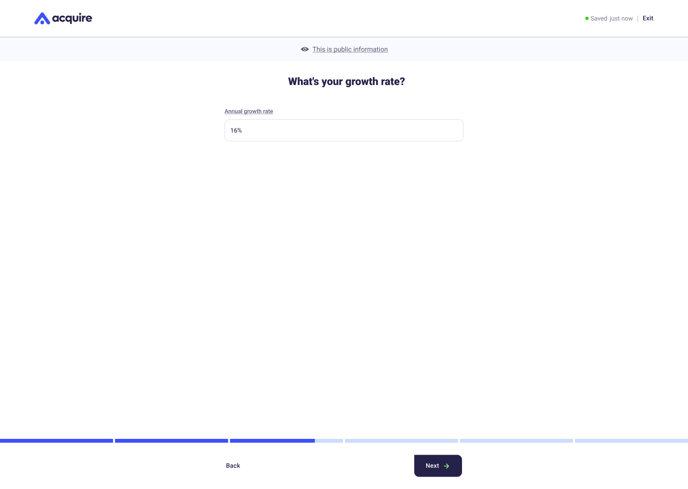
28. Enter your annual growth rate and click Next.
29. Enter your expected annual recurring revenue (ARR) and click Next.
.png?width=688&height=489&name=ARR%20(skip%20for%20eCommerce_).png)
30. Select the number of active customers you have and click Next.
.png?width=688&height=489&name=Customers%20(skip%20for%20eCommerce_).png)
31. You're halfway there! Time to fill out your seller profile.
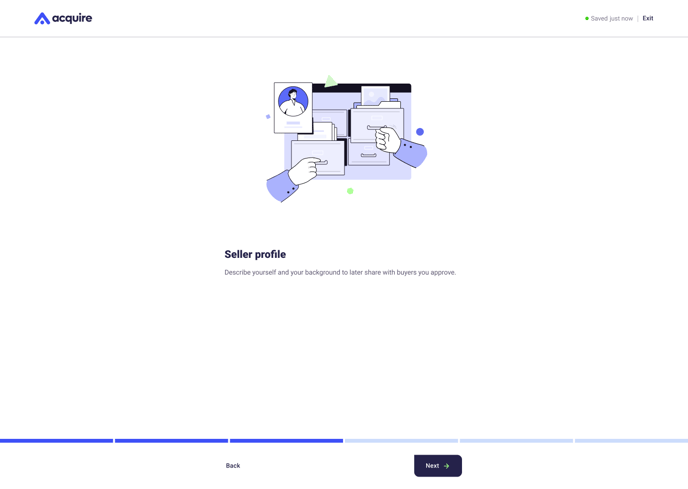
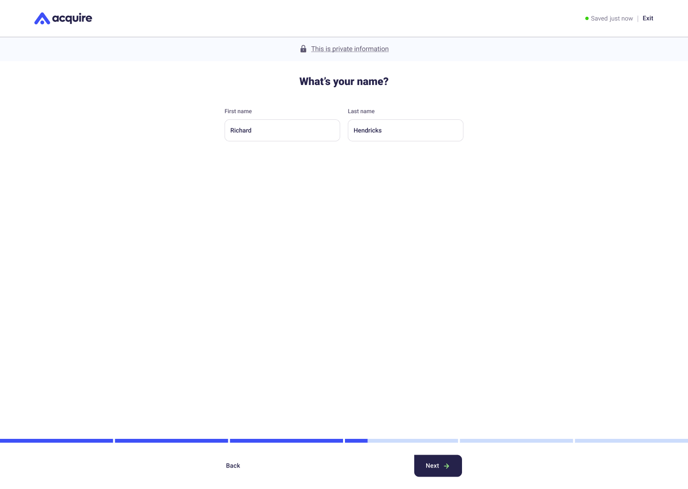
32. Enter your first and last name and click Next. The buyers won’t see your name unless you provide access.
33. Select if you're an owner or broker for the business and click Next.
.png?width=688&height=489&name=Startup%20type%20(3).png)
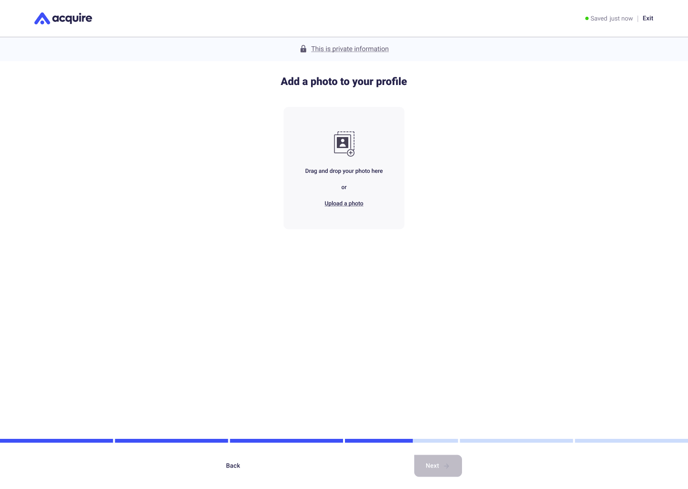
34. Add a photo of yourself and click Next.
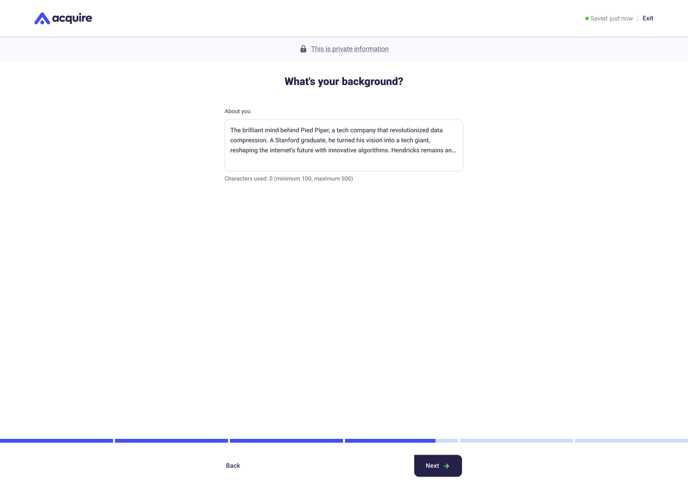
35. Enter a short paragraph about yourself and your entrepreneurial background and click Next.
36. Enter your LinkedIn profile link and click Next.
Connecting your LinkedIn profile helps buyers learn more about your background and experience (when you approve startup access).
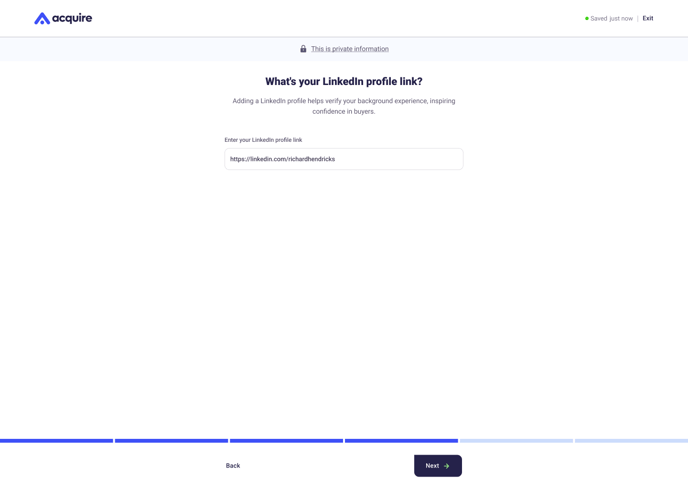
37. Now, we'll help you build a data room. Click Next to continue.
.png?width=688&height=489&name=Introducing%20Data%20room%20(1).png)
38. Upload a profit and loss (P&L) statement to provide more financial information to prospective buyers. We recommend including a P&L even when connecting metrics so buyers can see you track critical financial information.
Upload multiple years if possible, and click the trash icon on the right to delete any files. Click Next when finished.
.png?width=688&height=489&name=Profit%20and%20loss%20statement%20(2).png)
39. Add documents and files to your listing that buyers might find useful. These documents should convey the value of your company to persuade buyers it’s worth pursuing. Consider additional documents like:
- Seller introduction videos
- Confidential information memorandum (CIM)
- Transition steps
- Pitch decks
- Product demos
- Asset valuation estimates
- Customer testimonials
- More charts, diagrams, and analyses related to your business
Upload several documents and click the trash icon on the right to delete any files. Click Next when finished.
.png?width=688&height=489&name=Supporting%20docs%20(2).png)
40. For the last section, we'll gather info to help you market your business. Click Next to continue.
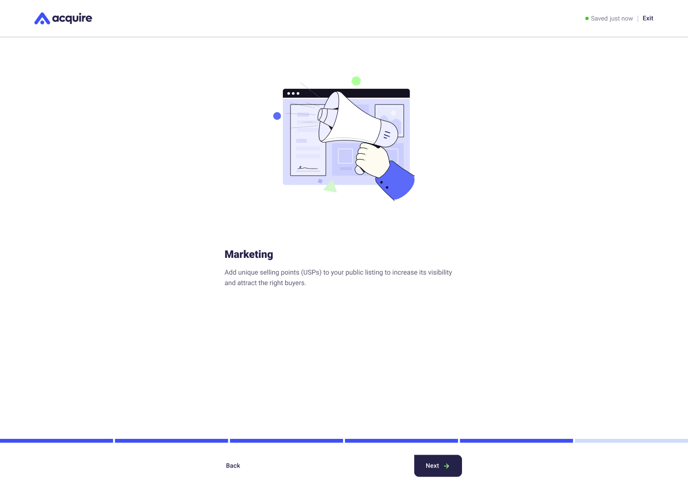
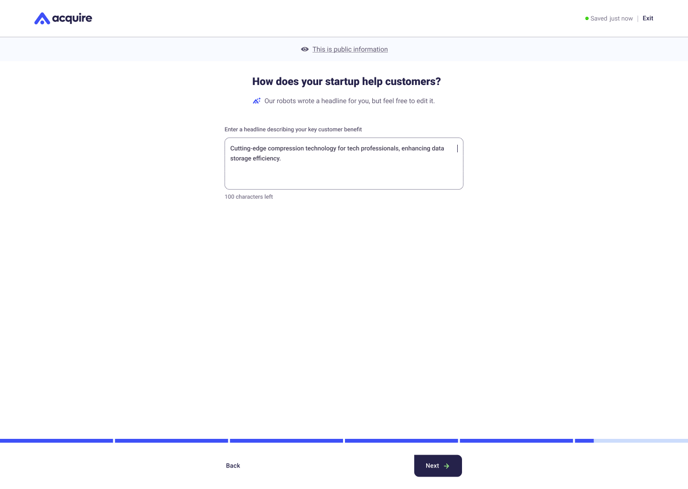
41. Enter a headline for your startup that explains how it helps customers. We'll also generate a headline for you, which you can edit. Click Next when finished.
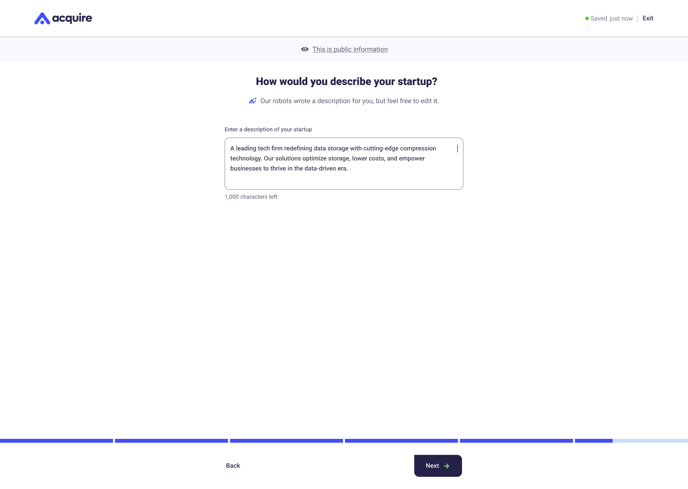
42. Enter a description for your startup that describes its offering. Keep it factual, but don't forget to sell the opportunity to buyers. Emphasize your startup’s strengths and what makes it appealing to a potential buyer.
We'll also generate a description for you, which you can edit. Click Next when finished.
43. Select the search keywords that describe your startup. You can choose from our suggested options or type your keywords in the box and press the enter key. Click Next when finished.
.png?width=688&height=489&name=Keywords%20(1).png)
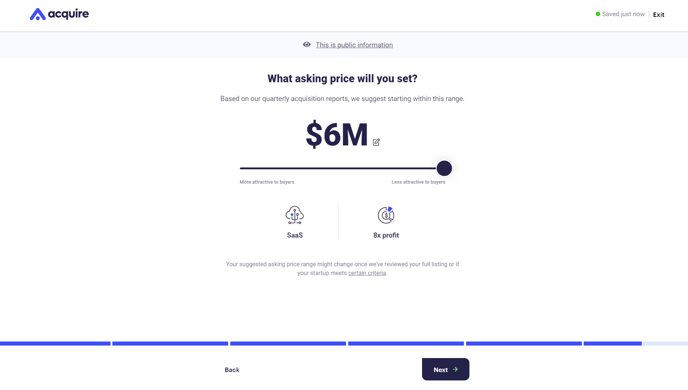
44. Review your recommended asking price. If you approve of the recommendation, click Submit, and we’ll set that number as your asking price.
Your asking price is usually the start of negotiations. It doesn’t necessarily limit or predict your closing price. Learn more in our guide, How to set your asking price.
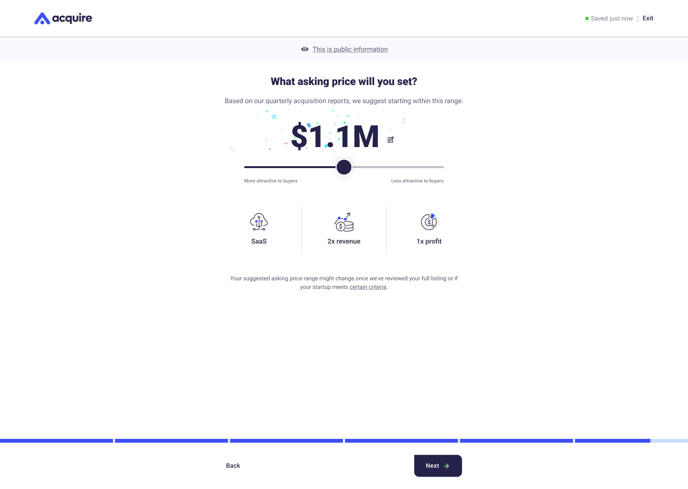
If you want to adjust your asking price, drag the slider to your desired number.
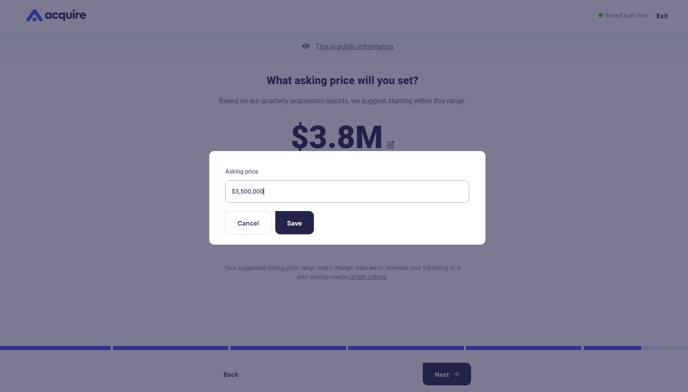
Or, click the box next to your price to enter a new asking price. Click Save.
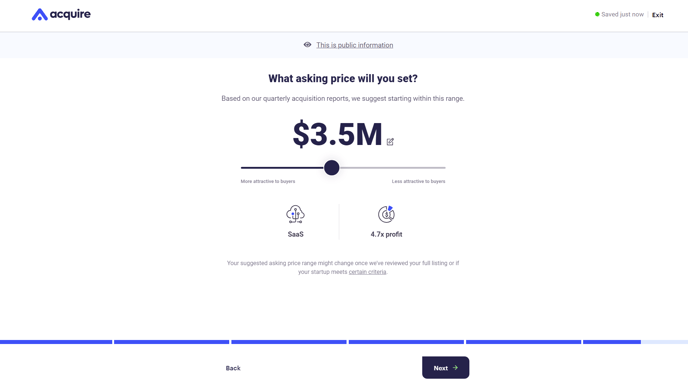
Once you settle on an asking price you're happy with, click Next.
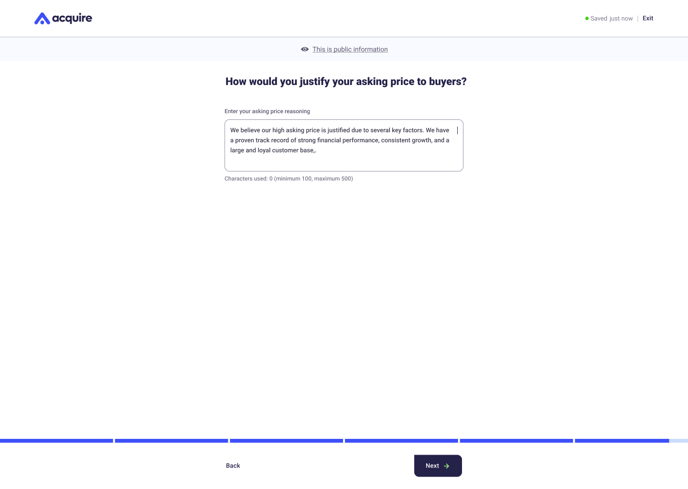
45. Enter your asking price reasoning to justify your number. Click Next when finished.
46. Enter your phone number and click Next.
Buyers don’t see your phone number unless you grant them access. We collect it to verify you’re a real person and not a bot, building trust and legitimacy in the marketplace. Plus, we might contact you with important updates about your acquisition or to help you attract more buyers.
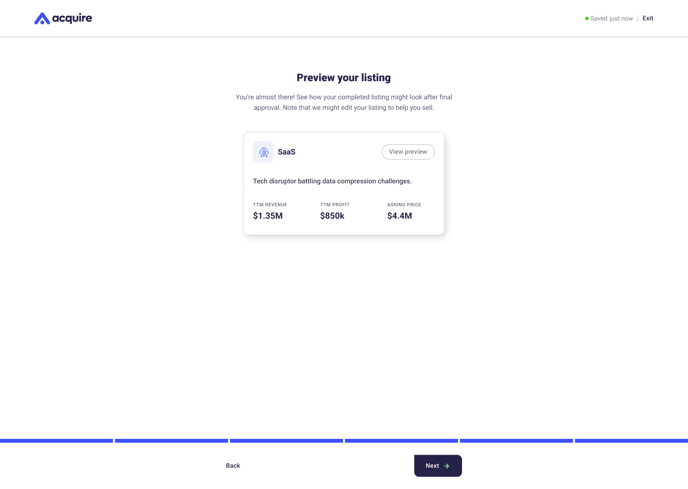
47. Preview your listing to see what buyers view on the marketplace. View the condensed listing card first.
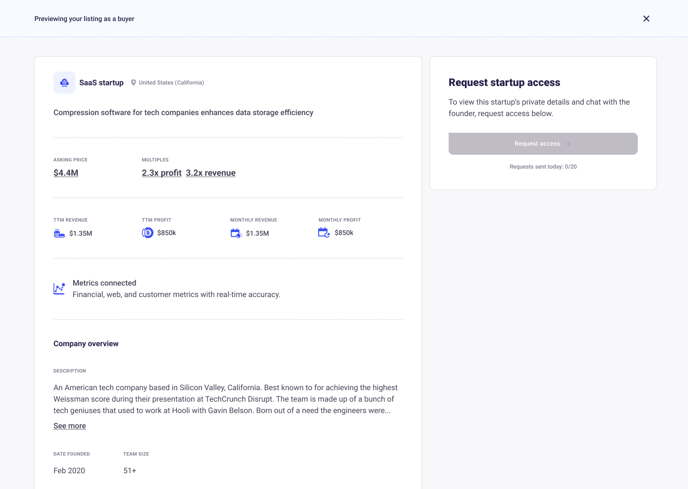
Click View preview to see the expanded listing.
48. Click Submit your listing to send your listing to our curation team for review.
.png?width=688&height=489&name=Submit%20takeover%20(1).png)
49. If you're selling a US-based entity, we'll ask you to verify your business to build trust with buyers and receive a Verified badge.
.png?width=688&height=489&name=Submitted%2c%20not%20approved%20(2).png)
50. Non-US-based sellers or individual sellers will be asked to verify their identity to build trust with buyers and receive a Verified badge.
.png?width=688&height=489&name=Submitted%2c%20not%20approved%20(3).png)
Once you complete your listing, our curation team will review it. Rejected startups receive an explanation of why it was rejected while approved startups go live automatically.
You can edit your listing once it goes live, but any changes will go through our curation team so we can maintain the integrity of the marketplace. On average, it takes one business day to review new or edited listings.
